Learning Studio / author
Manage files and fonts
Upload, replace, and reuse private course resources.
Add files and fonts to support your course, then check how learners will use them. Your account library lets you reuse a resource across courses.
Account library and course files
Section titled “Account library and course files”Open File Library in the app navigation to manage your account library. From an editor, Files shows resources for that course. Choose Upload from computer, or Add from Files library to link an existing resource into the course without uploading another copy. The Add from Files library picker includes Search your files to find an existing resource by name.
In File Library, you can also drag one or more files anywhere onto the page. The highlighted area says Drop files to upload. Dropping files uses the same upload checks and ZIP choices as Upload from computer; that button remains available for keyboard use. Finish the current upload or ZIP choice before starting another upload.
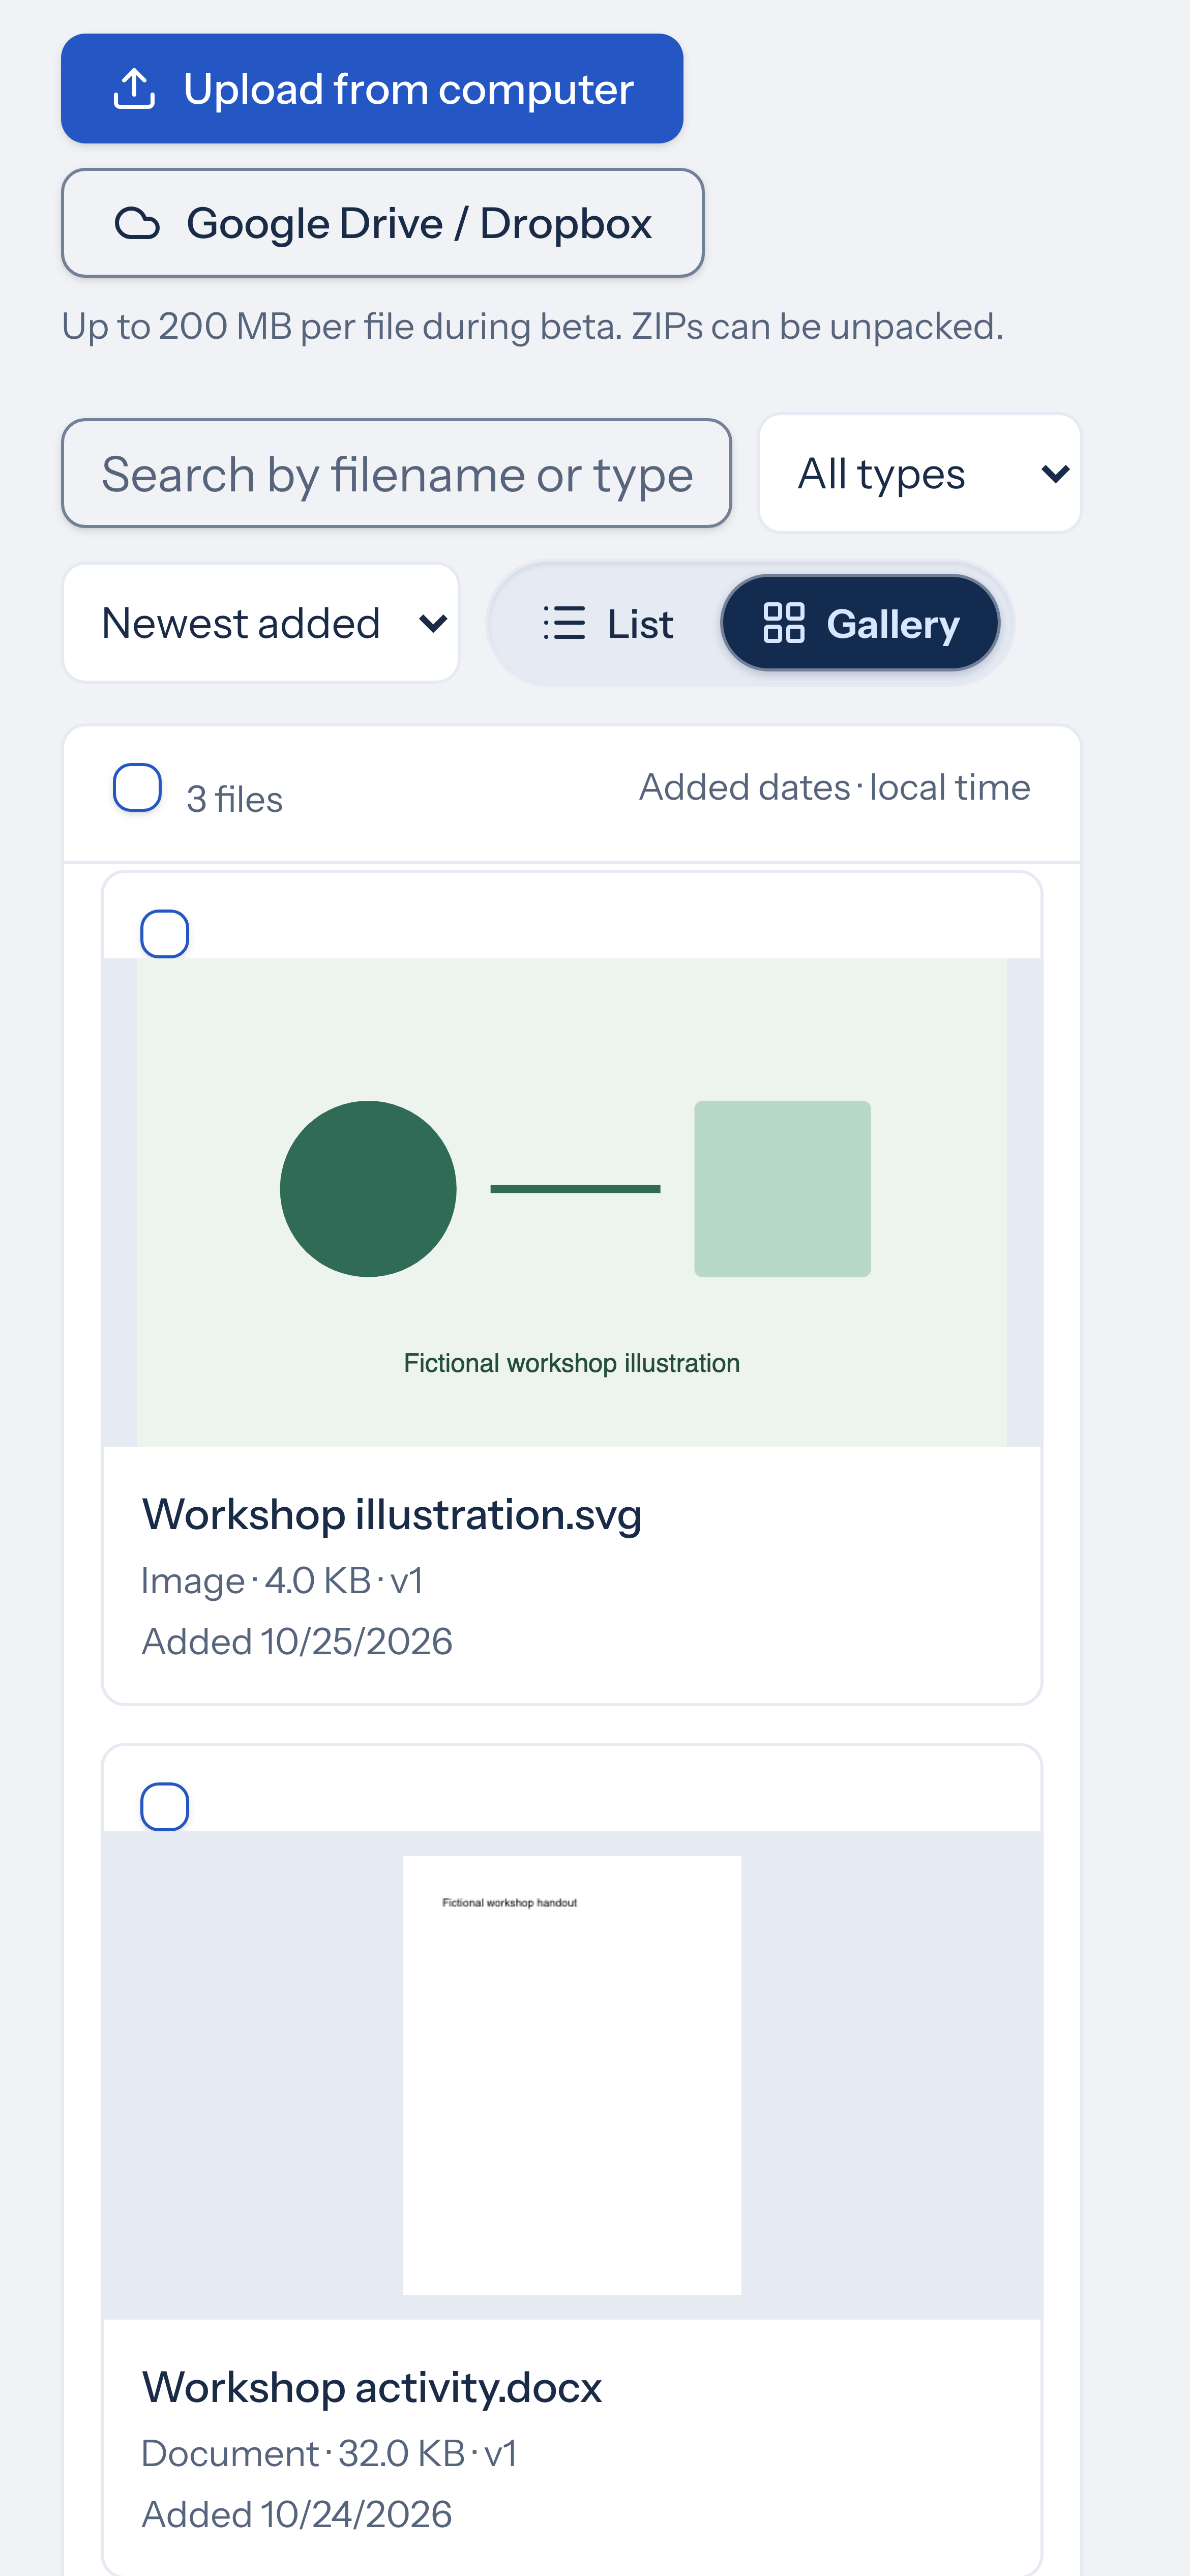
Use Search files to find a filename or type, choose a File type, and sort by Newest added, Name A–Z, or Largest first. Switch between List and Gallery. Results are shown in pages; use the page controls to browse more files.
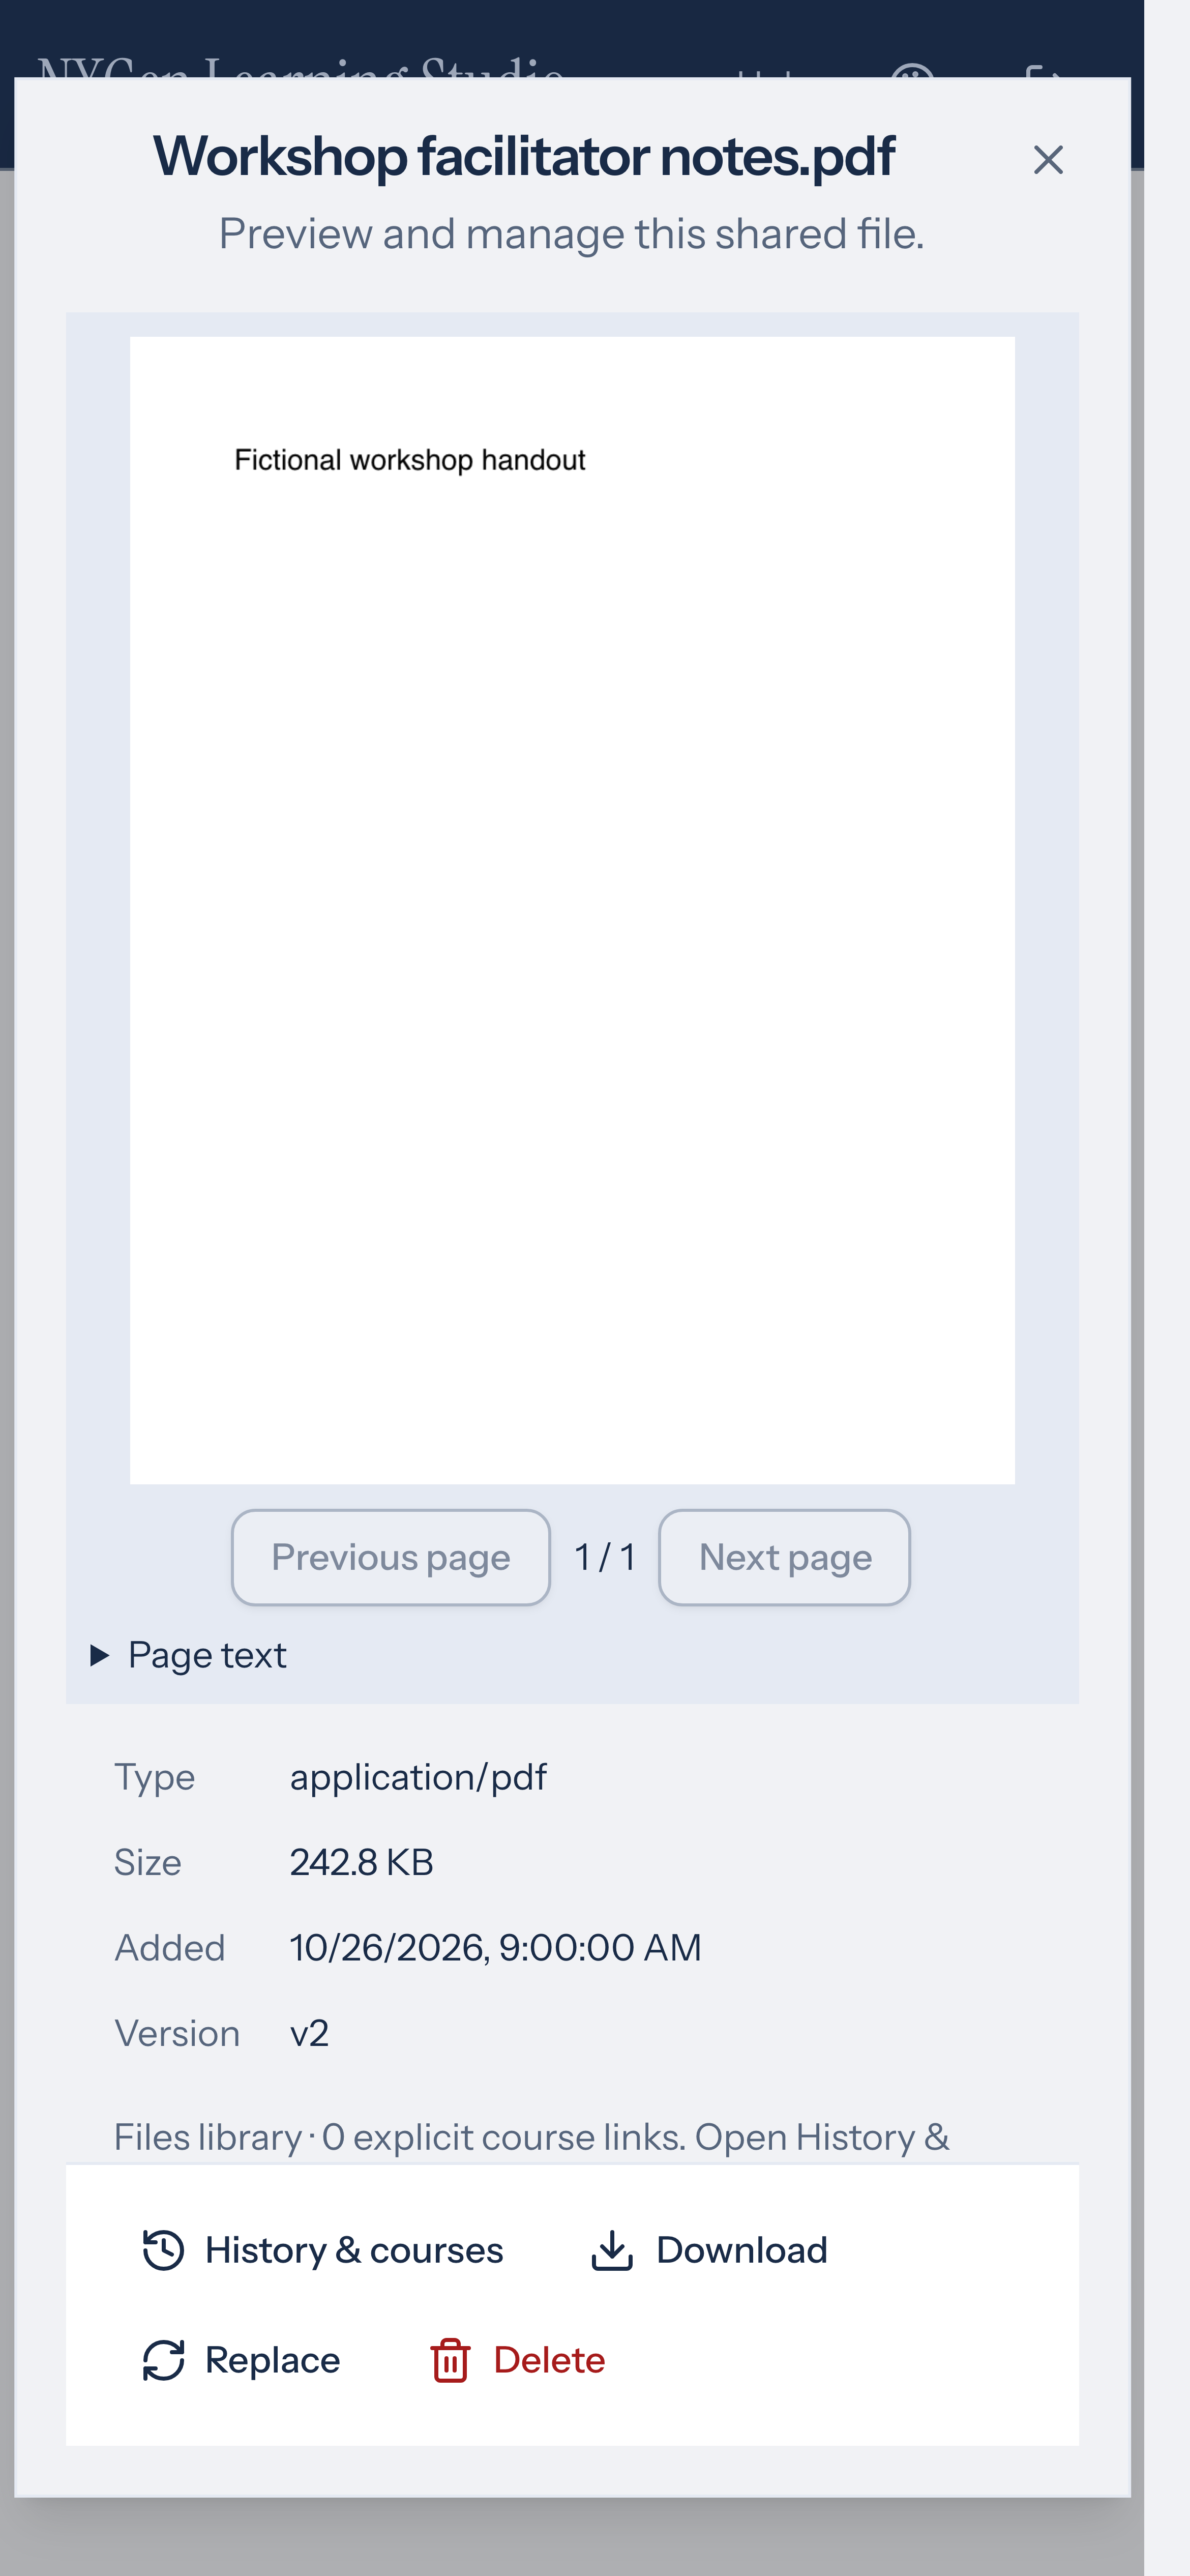
Select a file to open its preview and actions in the inspector. On a narrow screen, the preview opens in a dialog. On desktop, Expand file preview gives it more room.
Files remain private to your account. Course links reuse the same stored bytes. Add meaningful alternative text to informative images; mark an image decorative only when it adds no information.
Reuse a file while authoring
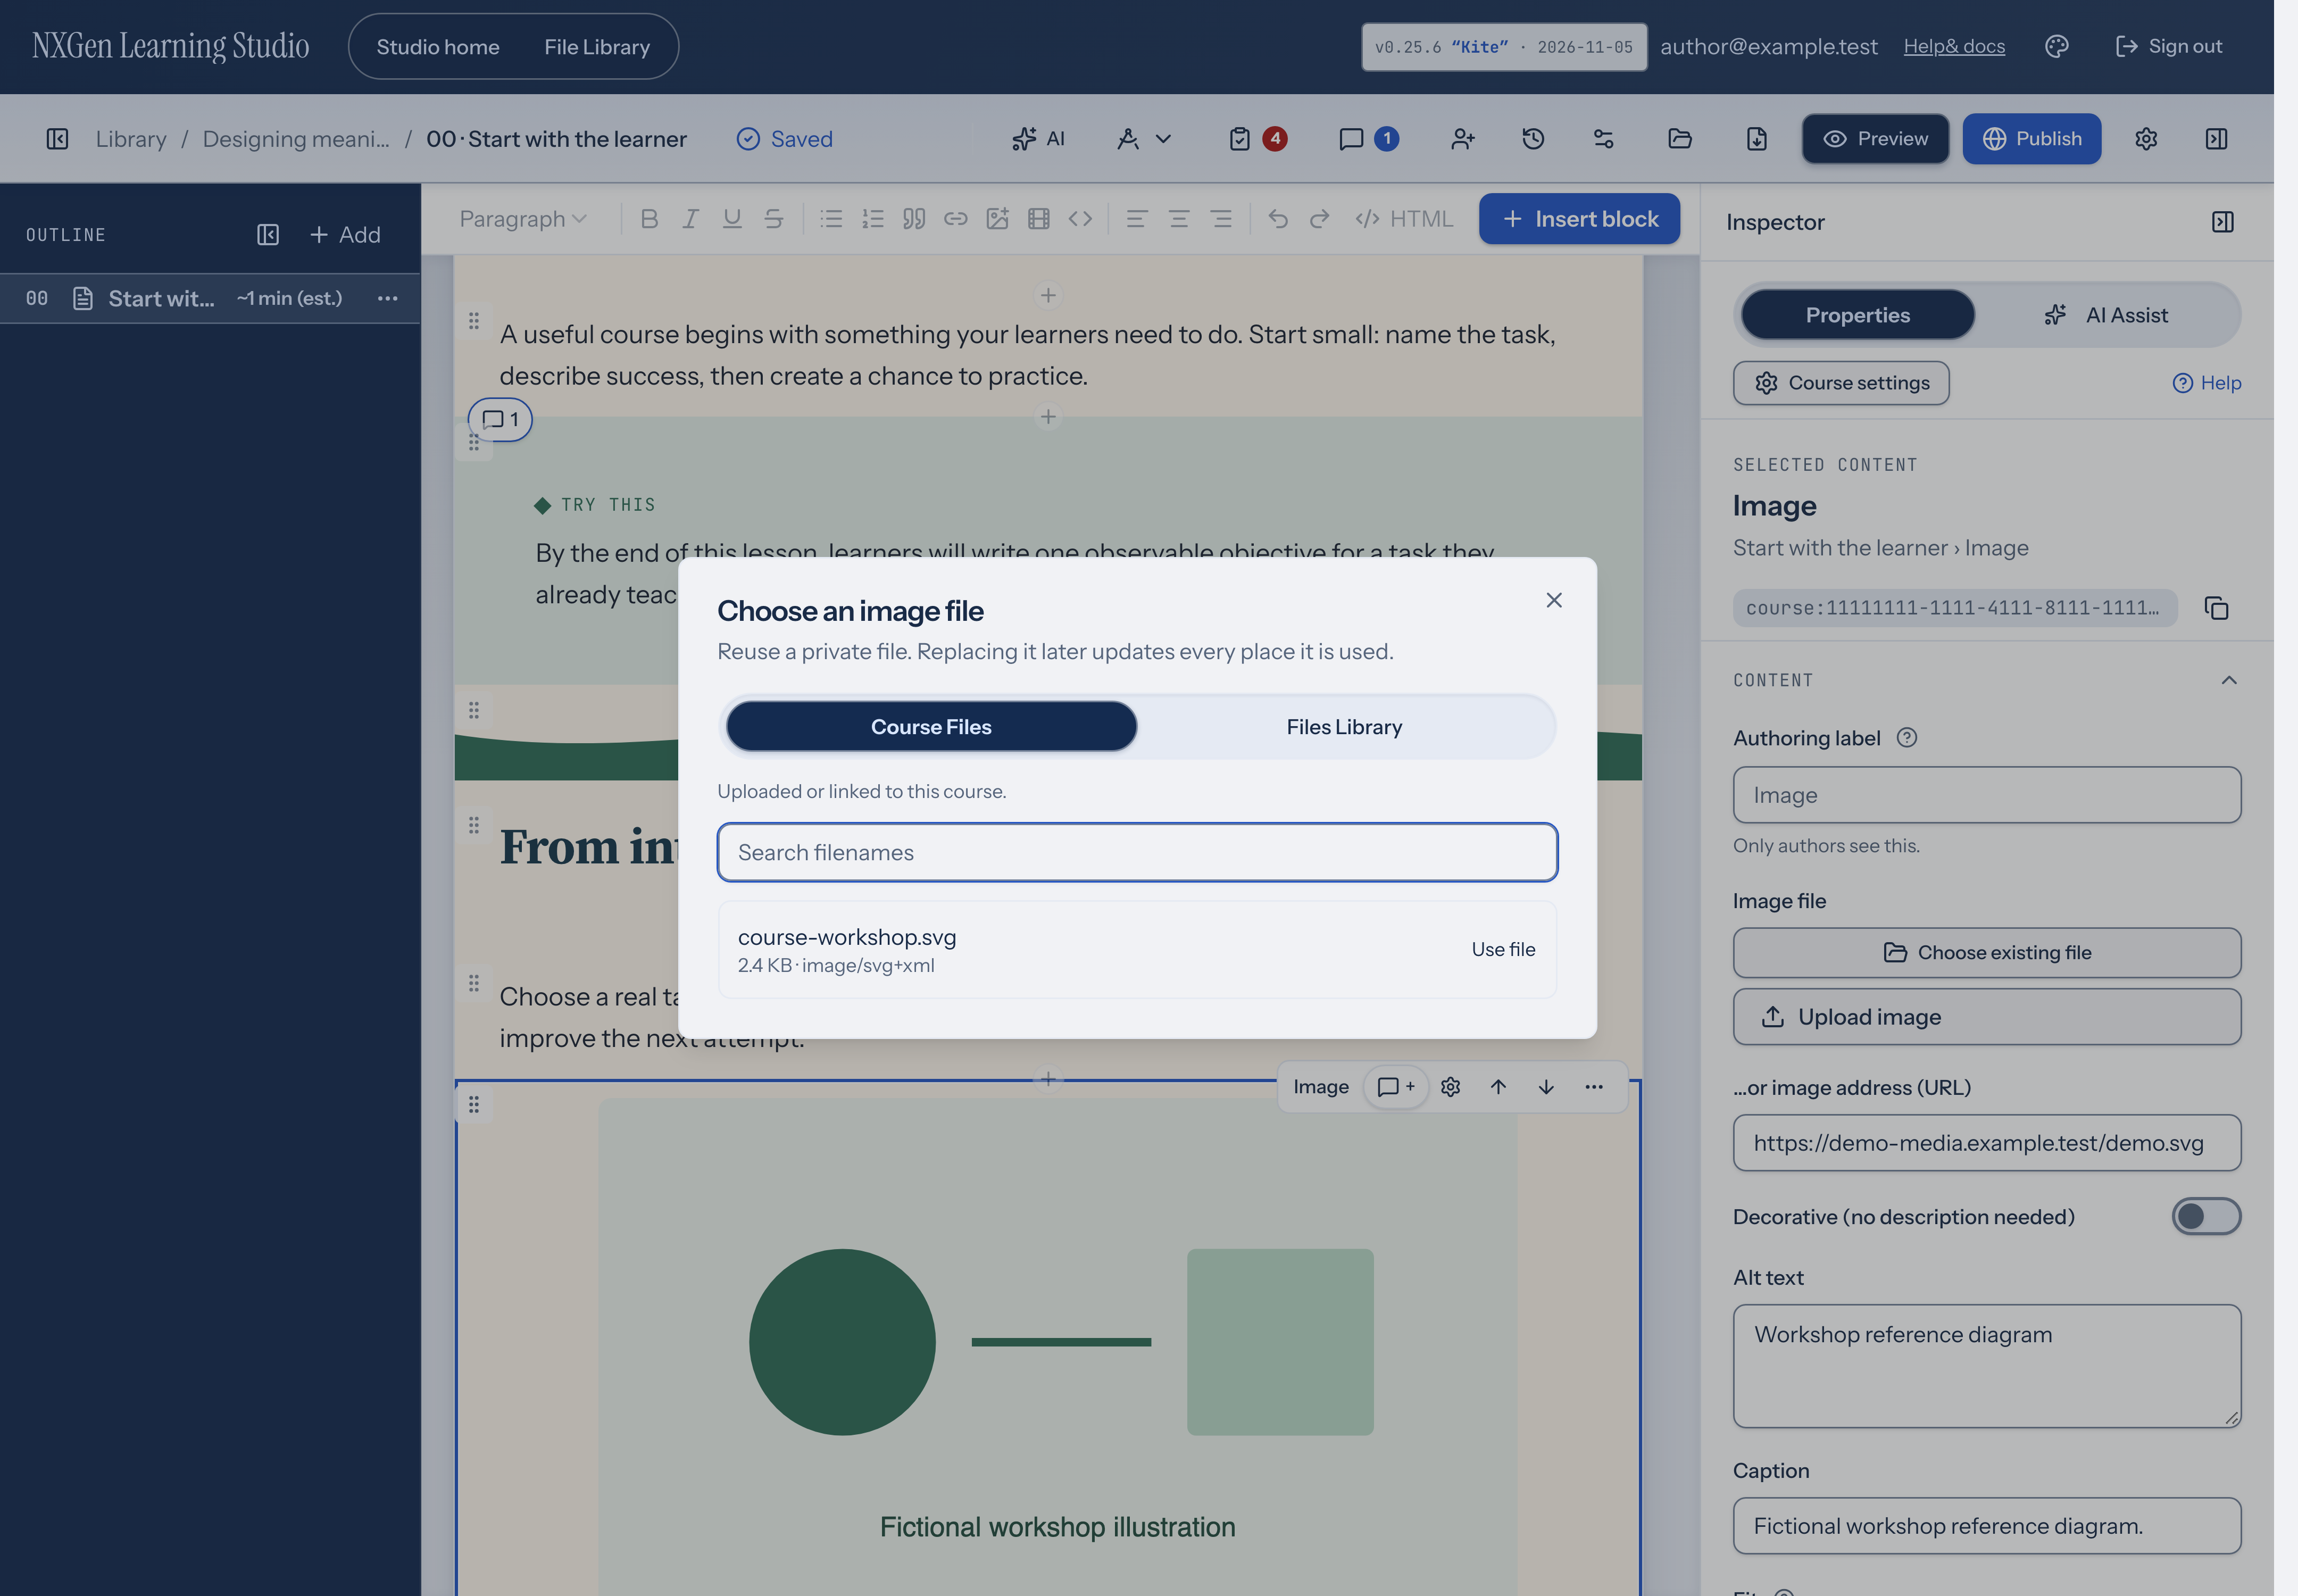
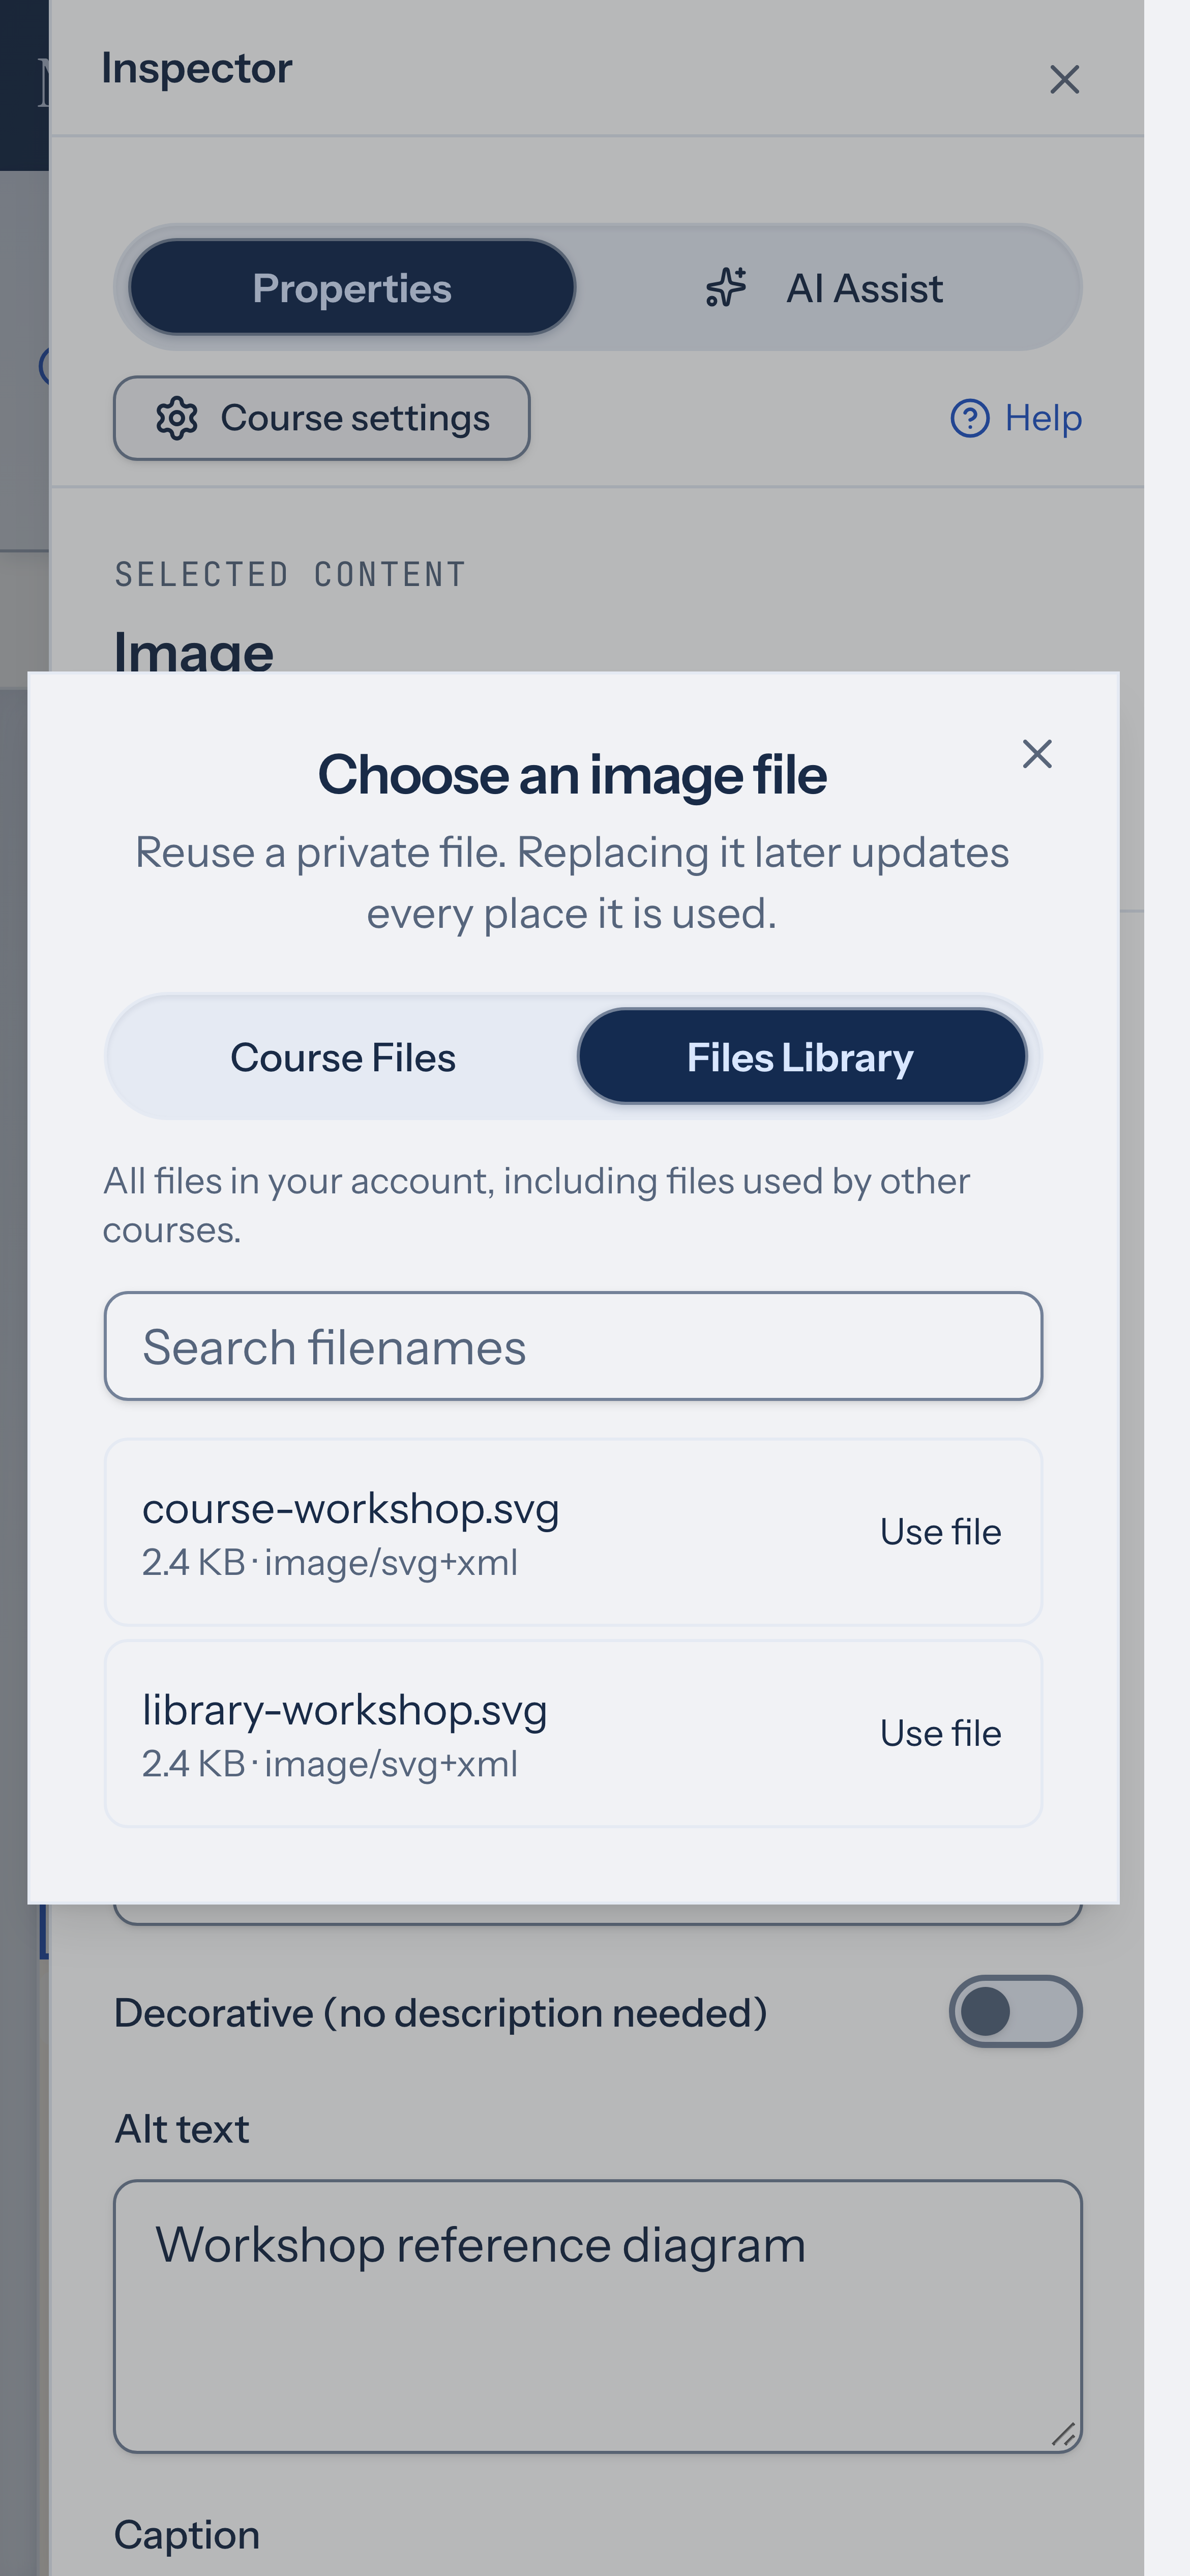
Section titled “Reuse a file while authoring”In an image, audio, video, or download block’s Properties, choose Choose existing file. Select Course Files for files already associated with this course, or Files Library to browse your account’s files. Use Search existing files to search by filename and the page controls to browse more results.
The picker shows files suitable for the selected control: images, audio, video, or supported fonts. A download block can use any file type. Choosing a library file links it to the course and reuses the original resource without copying it. Replacing that resource later updates every place it is used.
You can also choose an existing image or video from the text-formatting toolbar, or an image for the course’s page background.
Uploads and ZIP archives
Section titled “Uploads and ZIP archives”The beta limit is 200 MB per file. For a ZIP, choose Keep as one ZIP for a downloadable archive or Unpack into files to use the contents individually. Unpacking allows up to 500 files and 1 GB total uncompressed data; each extracted file must fit the per-file limit.
If one file is too large or fails to upload, its error identifies the filename and the remaining files continue. When you upload several ZIPs, each archive has its own keep-or-unpack choice.
Replace, restore, or remove
Section titled “Replace, restore, or remove”Replace keeps the resource path and archives the previous bytes. It updates every course using that file. Review the confirmation and choose Replace everywhere only when you intend to update all its uses. Open History & courses to inspect where it is used, download an older version, or restore an earlier version as the new current file. Restoring also updates every course using it.
For a linked library file, Unlink removes the course link and leaves the file in the library. It does not remove references from blocks already using the file. Course content checkpoints and file history are separate recovery tools.
Delete unused library files
Section titled “Delete unused library files”- In File Library, check the box beside each file you want to remove. Its accessible name includes the filename, such as Select AGENTS.md. Checkboxes are available in List and Gallery.
- To select all results matching your current search and file-type filter, use Select all. This includes matching files on other results pages. A partially selected result set shows a mixed state. Selections remain when you change filters or views; check the selection count before deleting.
- Choose Delete in the selection toolbar, then Delete unused files in the confirmation. To remove one file, open its preview, choose Delete, then Delete file. Both paths check course usage before deleting.
Choose Clear or press Esc to clear the selection without deleting anything.
Files linked to a course, originally uploaded into a course, or referenced in course content are kept, including those in archived courses. The confirmation lists the courses and any page or block references. Follow the course and page links to remove references and unlink library files there, then return to the library and try again. Course-owned uploads stay protected while their original course exists.
If the initial usage check fails, deletion is unavailable; choose Try again after resolving the error. The final check covers the whole selection before any files are deleted. If that check fails, nothing is deleted; resolve the error, then choose Delete file or Delete unused files again.
After deletion, the result gives exact counts, for example Deleted 2. Kept 1 in use. Files that could not be deleted because of an error are reported separately. Deleting an unused file cannot be undone.
Preview a file
Section titled “Preview a file”Images and PDFs can be previewed without downloading the original. For PDFs, use Previous page, Next page, and Page text to inspect the rendered pages and extracted text. Image and PDF previews are limited to 50 MB; the larger upload allowance does not guarantee a preview.
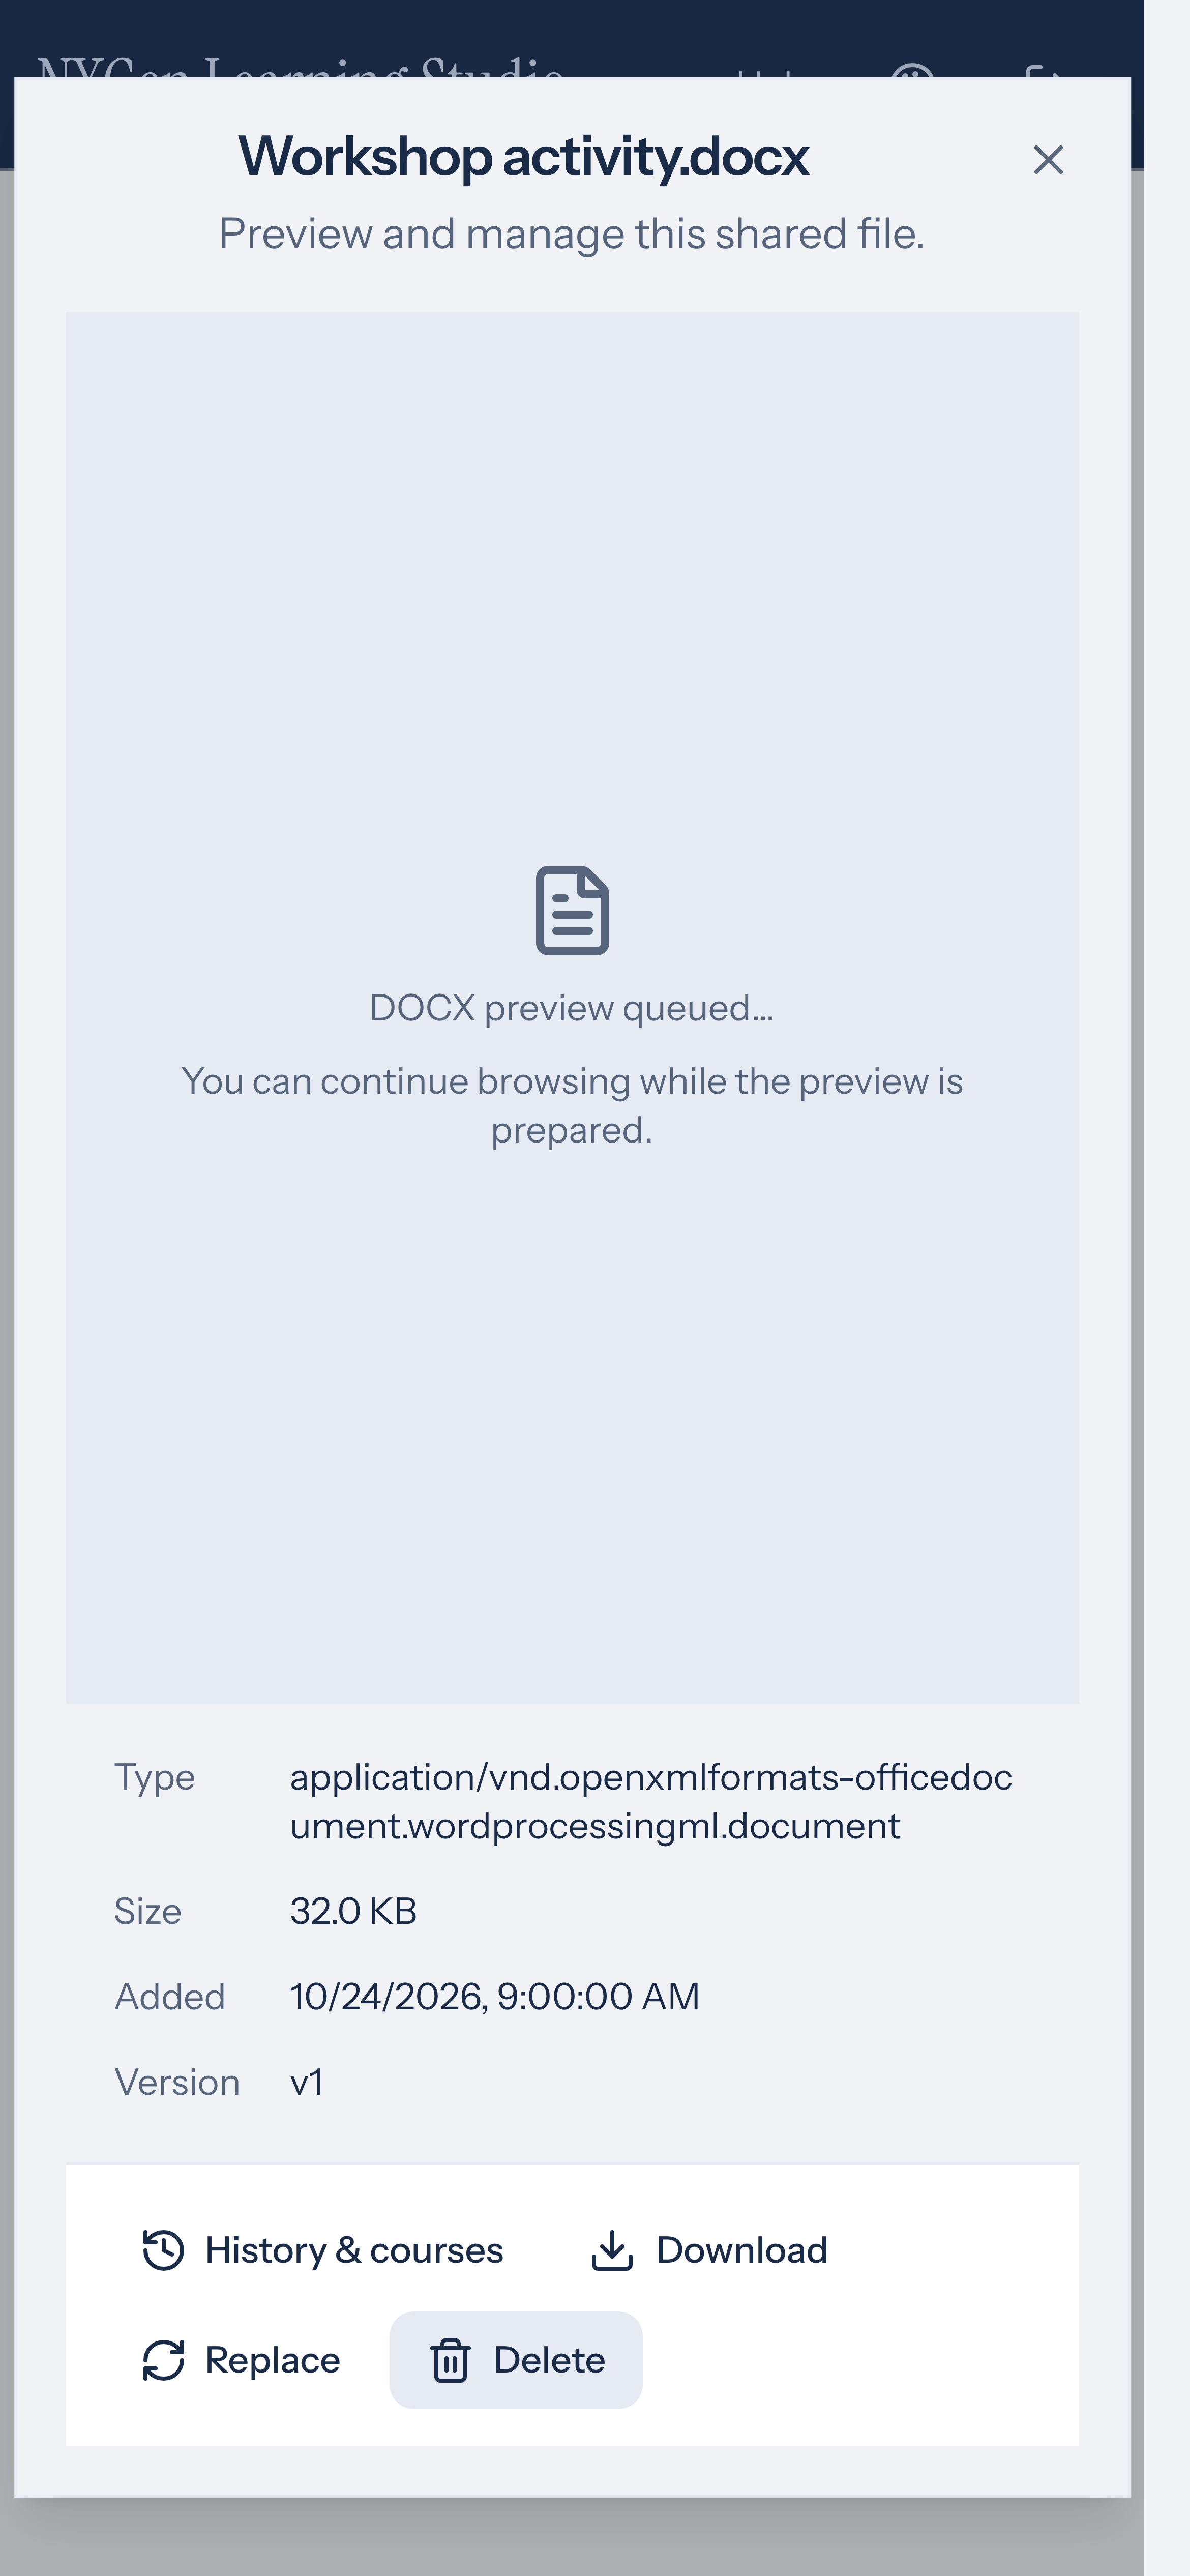
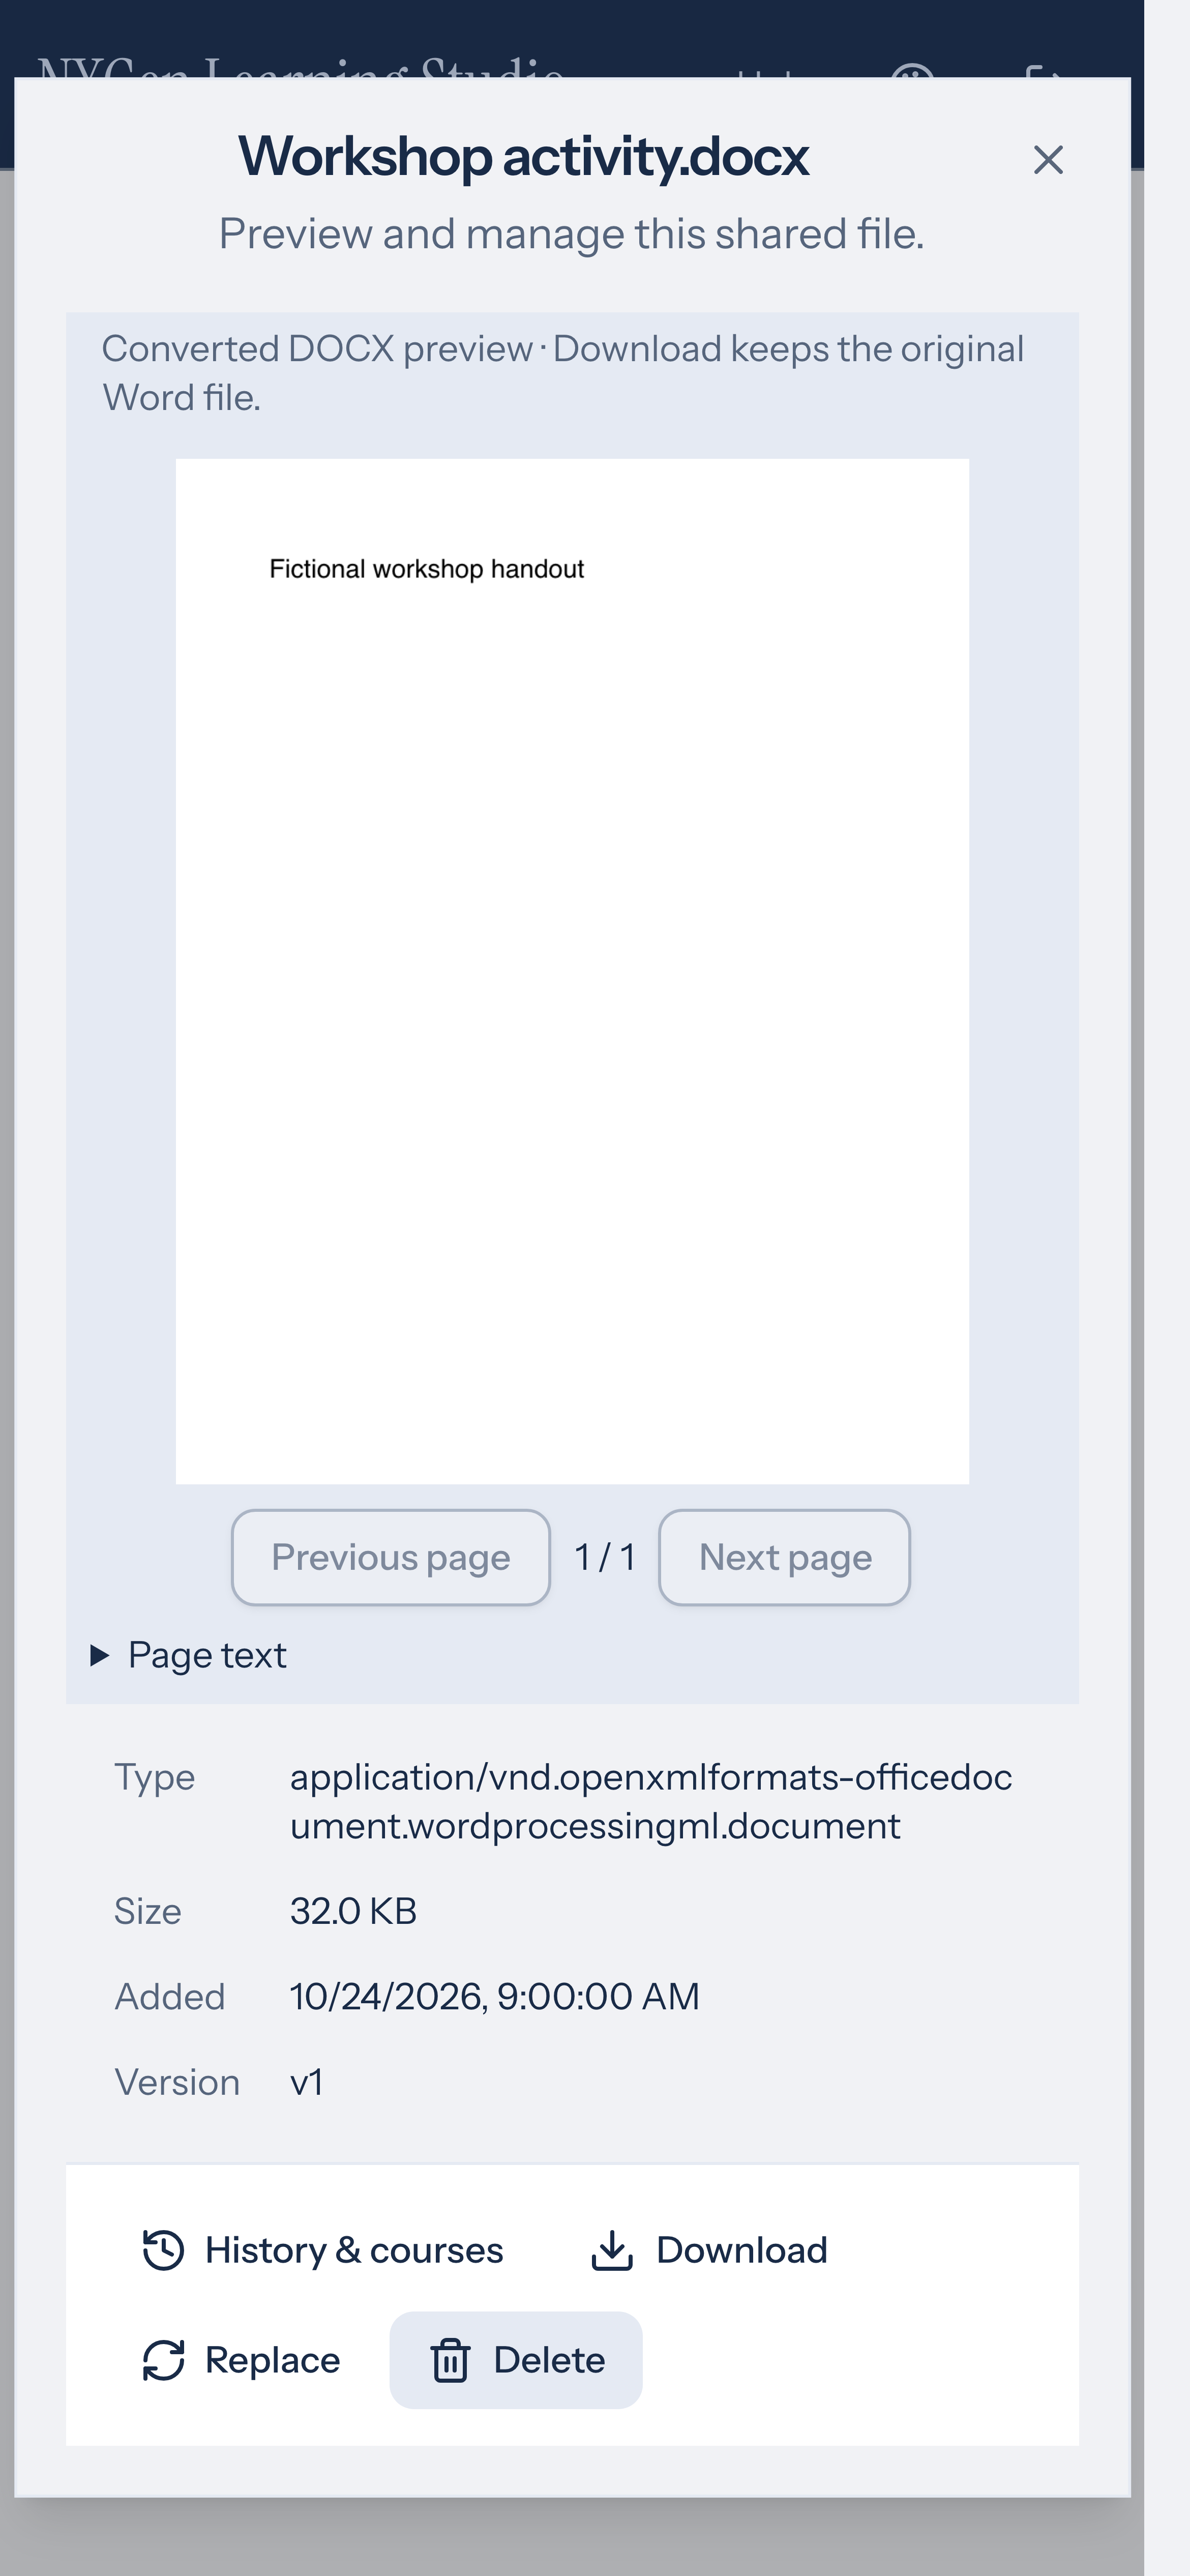
For a supported Word document (.docx) up to 32 MB, select Generate preview if the preview service is available. The status shows when the request is queued or rendering. A completed preview is a converted, read-only PDF; it does not enable Word editing or guarantee identical fonts and pagination. Download keeps the original Word file.
Browsing Gallery reuses completed Word previews without starting a conversion. If the service is offline, the daily limit is reached, or conversion fails, follow the displayed message. Retry preview appears when another attempt is available. You can still download the original file. If the file has changed, refresh the Files list before requesting its latest preview.
In Course settings → Uploaded fonts, upload a font or use Choose existing file to reuse a WOFF2, WOFF, TTF, or OTF file. Then select it as the Heading font or Body font. Uploaded fonts are private resources. Confirm the font renders the characters your course needs.
External media
Section titled “External media”External media and embed links must use HTTPS. The editor shows an embed placeholder so you can still select the block; learner embeds run in sandboxed frames. Provider playback and availability depend on the external service. The presence of a cloud-import control does not establish that a provider connection is configured.
Missing resources
Section titled “Missing resources”Open Review in the editor toolbar after replacing or removing media. Signed media URLs expire; do not paste one into documentation as a permanent resource address. See troubleshooting.
Download a file
Section titled “Download a file”Select a file to open its preview and actions, then choose Download to download the current version. If the download link can’t be created, the app shows an error; follow the message and try again.
View where a file is used
Section titled “View where a file is used”When you open a file from a course’s Files panel, the inspector shows where that file is used within the course content. The description lists each page and block that references the file. For library files or files not yet placed on a page, open History & courses to see which courses link or use it.