Learning Studio / features
Explore an image with hotspots
Add labeled points, position markers, and choose below-image descriptions or floating cards.
Use Image hotspots when the position of something matters: parts of a diagram, steps on a map, or details in a workspace. Each point has a label and an explanation. Exploration is ungraded and never blocks the next page.
Add the image and points
Section titled “Add the image and points”- Choose Insert block, then Image hotspots.
- Select the block and open Edit properties. Use Upload hotspot image, choose an existing image, or enter a complete
https://Image address (URL). - Add meaningful Alt text, a Title, and an optional Caption.
- Use Add hotspot to add points, up to 12. Give each point a short, descriptive Label.
- Select a marker on the canvas, then click the image to position it. Arrow keys also move the selected marker; Horizontal (%) and Vertical (%) provide precise placement.
- Edit each point’s explanation on the canvas. Open Preview to try the activity.
The whole image remains visible as its size changes, so markers stay aligned. Keep important information in the descriptions as well as the image.
Choose how descriptions open
Section titled “Choose how descriptions open”In Description presentation, choose Below image for explanations beneath the image, or Floating card for a card near the active marker. Existing hotspots keep their current presentation until you change it.
With floating cards, learners hover over or focus a point to read it. Selecting a point keeps its card open; Escape dismisses it. Text labels provide another way to select points, and Show all descriptions exposes the explanations together.
Why is the card below the image?
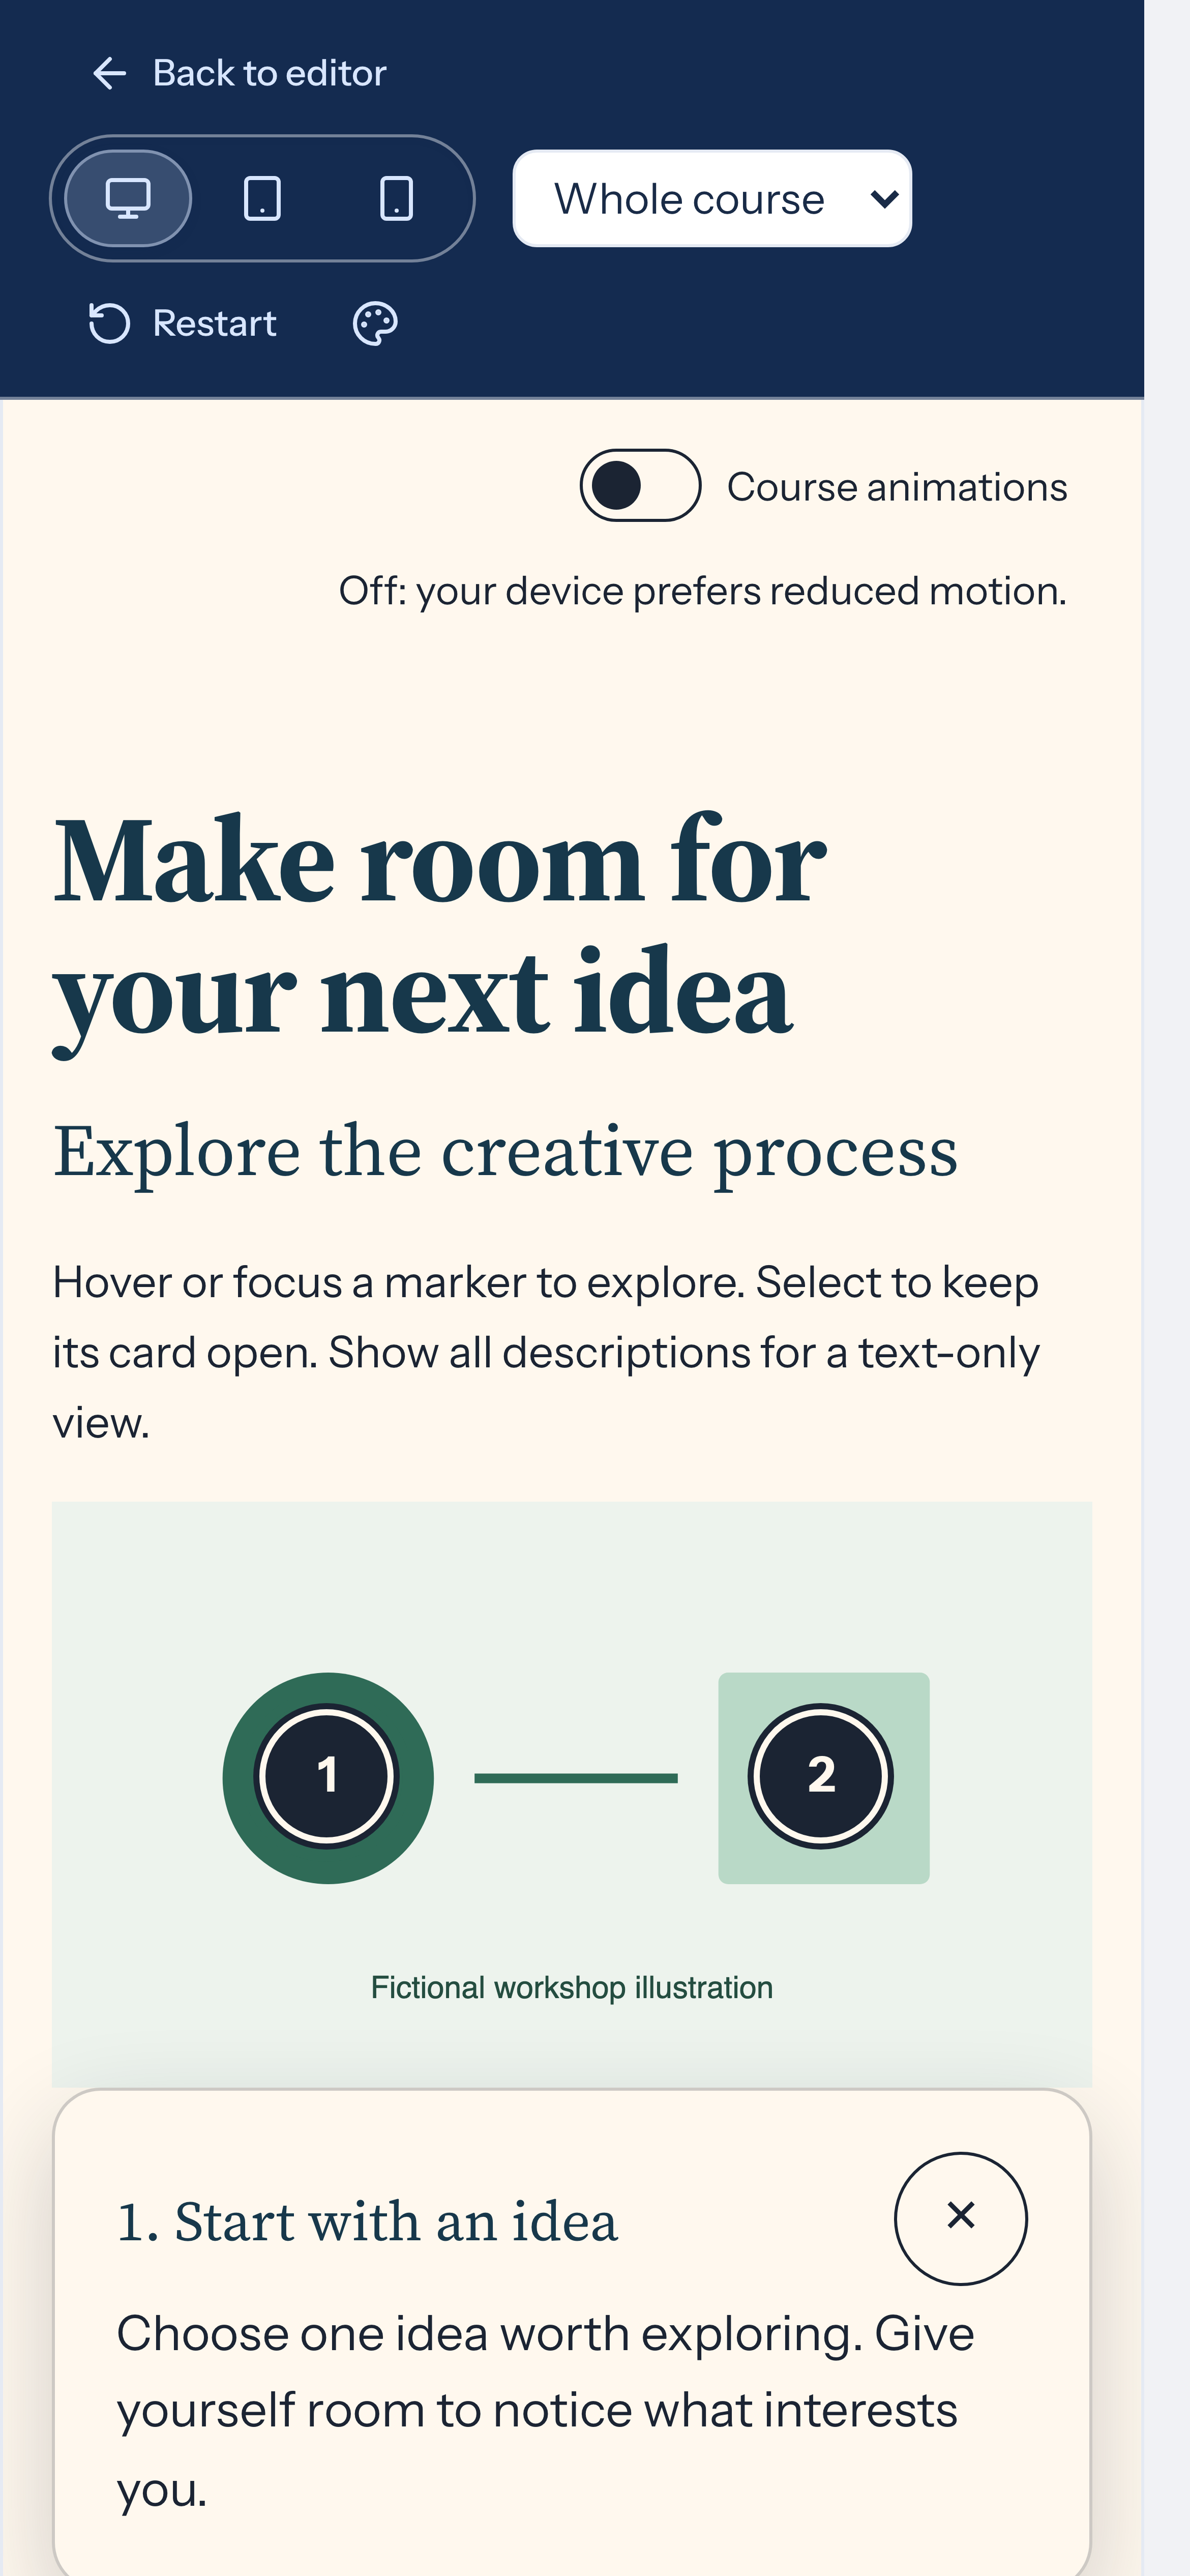
Section titled “Why is the card below the image?”Floating cards need room. When the displayed image is narrower than 600 pixels or shorter than 300 pixels, descriptions appear below it instead. This also applies to small images on a desktop. Try a wider block layout or a taller source image if an overlay is important to the design. Check the actual result in Preview.
Check the experience
Section titled “Check the experience”Try every point with the pointer and keyboard, then check a phone-sized preview. Labels and explanations should make sense without relying on marker color or animation. Avoid placing points so close together that they are difficult to select.